Search This Blog

Friday, November 20, 2015

Lego Technic Racing Wheel And Phone Holder

Fig 2.
Fig 1.

  How do you prop your phone up on your desk to watch videos, surf the web, or even playing games? Why with a technic phone holder and racing wheel of course (Fig 3).
In (Fig 4) you are able to see the 1:1 ratio between the steering wheel and the axle that leads to the turntable.

Fig 3.
Fig 4.

Fig 5.
 In (Fig 1) you are able to see the axle that leads from the steering wheel over to the 60 Tooth Turntable, a 12 Tooth double bevel gear turns the turntable, creating a gear reduction of 5:1. Referring back to Fig 3, it would take 5 turns of the small steering to make one total turn of the phone carriage. The carriage is specifically designed for the Droid Turbo 2, the phone fits snug in the carriage and can even be turned upside down without the phone falling out.

Sunday, November 8, 2015

Lego Technic 42008 Pneumatic Modifcations

Fig 1.

Fig 2.

Fig 4.
Fig 3.

Fig 6.
Fig 5.
Anyone familiar with recent technic sets will recognize 42008 almost instantly; its green body is one of the most recognizable sets in the long line of technics. The 42008 featured power functions, and pneumatics, the only pneumatics in the truck were 2 1x5 cylinders and they were small and didn’t provide and power. The power functions in 42008 never seemed to do the \
Fig 8.
Fig 7.
set justice, I was itching to build it again as I loved the set, it packed plenty of functions into a body that is beautifully sculpted with panels and liftarms. I purchased an extra set of all pneumatic cylinders in set 42043 to be able to play around with, as I was building 42008 I started looking at it and said I can use the new cylinders to make a pneumatic 42008. In Fig 1. We see the air tank that holds all compressed air in the truck. There is also an onboard compressor on the truck along with a hand pump (Fig 6). Both are connected by a T-piece visible in Fig 5, while looking at Fig 5 I would like to go over the different color valve handles. The Brown handle is the master valve, pushed to the right it dumps all air from the entire system, pushed to the left it supplies the system with air, 
Fig 9.


Fig 10.

Fig 11.
Fig 12.
 System with air, the red handle, pushed to the right lowers the whole boom, pushed to the left it raises the boom (Fig 9). The black handle pushed to the right raises the tow dolly, when pushed to the left it lowers it (Fig 4). The white handle when pushed to the right retracts the arm extension, when pushed to the left it extends the arm extension (Fig 8). The yellow handle when pushed to the right retracts the rear stabilizers, when pushed to the left the stabilizers are extended (Fig 3). Figures 2,7,10,12 are skeleton pictures of the truck, showing all the hoses and cylinders, Fig 10 showcases all the functions with out the side panels on the trucks. Fig 11. Is the last picture to be discussed, it shows all the functions of the truck, but paneled over, without the panels the truck feels very empty. Below is a link to my review of 42008 without pneumatics.
     Review of Technic set 42008

Sunday, October 25, 2015

More Technic 2016 1H sets leaked

Technic 2016 2H sets can be found here.
The images below are more leaked pictures of Lego Technic 2016 1H sets (click on one to enlarge it). Set 42050 (fig 3 top) appears to be a dragster, which appears to use tumbler-tires (which appeared in set 76023). It also has a load of light blue panels and pieces, which will make MOC building better and worse.
fig 4
fig 1


fig 2
fig 3
Better for the builder and worse for the person trying to collect the parts to build it. The V8 engine also seems to be more detailed than seen in previous years. The next set is 42051 (fig 3 bottom), an airport rescue truck. the arm is fold-able, by use of a worm gear turning, most likely a 24 tooth gear, and the gear is the pivot point of the arm, is you look closely above the name airport rescue, a tan 20 tooth double bevel gear can be spotted, either for arm folding or HOG (hand of god) steering. The red is a welcome color to me, even though most of it is panels. Two red flexible axles are used to shape the cab; nothing else can really be noticed in 42051 except the odd use of balloon tires, instead of typical road tires. In fig 2, we see the latest helicopter that created quite a buzz, due to its coaxial rotors, in the picture we can also see that it is power functions equipped, or ready for power functions. doing a quick stud count using panels, this set will be the biggest of the 1H sets for 2016, if you zoom in on fig 2, just above the IM in image there looks to be a red changeover catch, indicating a gearbox in the helicopter for functions such as; rotors, landing gear, opening cargo bay door, and winch. In addition to, if you look at the base of the rotors there is one small turntable to hold both rotors to the helicopter. In fig 4, we see the 42044 jet in the top left corner, it looks to be an ordinary jet, and nothing special can be seen when looking at the jet, just a bunch of panels covering a small shell.


Friday, October 23, 2015

Technic 2016 1H sets

fig 1. 42045
fig 4. 42048
fig 3. 42047

fig 5. 42049
fig 2. 42046
Every year LEGO releases a new line of sets, in two batches, 1H and 2H. 1H sets have always been released in January, while 2H sets have always been released in august. The five figures shown are the only sets that have been leaked by Lego. In (fig 1.) we can see the new hydroplane racer, with a body that looks to be manly comprised of panels, give it a sleek and flowing look. The only noticeable new item is the technic curved panel 1x13 in light blue, across the back of the racer. The hydroplane racer also sports a massive I4 (inline 4) engine. In (fig 2.) we see the 42046 getaway racer, featuring gold rims, and a pullback motor. No new molds or colors of molds can be seen on the 42046. I should note that since these pictures are first leaked images, the resolution is small, and the picture is not accurate of the final design, the final design has been known to change when released to stores. The next new set (fig 3.) is the police interceptor, built more like an off-road vehicle, for off road chases, lime accents, a bright white body, and a red and blue beacon on top of the car, give it a brilliant look that next to the getaway racer will stand out brilliantly against its black, and smoke gray colors. This set also has a pullback motor in it, up until now the two pullback sets for each year have had a duality of on road/off-road. This year one could say it is a cops and robbers showdown between the pullbacks. in (fig 4.) we see a race kart, or go kart, many have said that the red handle next to the seat might be a handbrake, but if we look on the other side of the seat, we can see part of a 1x9 technic link (fig 6. at bottom of page) which must be connected to the rear engine module. If you look carefully inside the module, next to the wheel, you can see a red clutch gear, Indicating a gearbox inside the rear of the go-kart, which is most likely used to change the engine speed. The only new item I can spot is the technic curved panel 1x13 in purple. The last picture shown (fig 5) is 42049, which is also called a mine loader, rides on 62.4 mm wheels, same wheels used in 42009, 42043, and other various sets. The mine loader has a low profile to allow it to work in the tight spaces of a coal/ diamond, anything mine. There is a grabber claw on the front of the loader, making it more of a handler, then loader. There are more sets to be released, (see list below, clicking on the set will take you to the Brickset page for it) but pictures are not available for those sets. It was hard to get my hands on these. Lego is not too happy when there pictures are leaked. There is also a theory that the pictures are intentionally leaked in order to create hype among the Lego community. 


Saturday, September 26, 2015

Lego Scmihdt coupling


What’s a Schmidt coupling you might ask, A Schmidt coupling is a type of coupling designed to accommodate large radial displacement between two shafts, in the video above, that is shown very clearly, by turning the first "rack", the three beams are rotated either clockwise, or counter clockwise, which turns the second "rack", which then repeats the same action with the beams again, and then the third "rack" closes the coupling and a shaft is connected to it. A Schmidt coupling can handle very high amounts of torque. There is no limit to how many "racks" you can have, or how long the beams can be, but the longer the beams, and more "racks" in the coupling, the more play in the system. Until next time, if you can dream it, you can build it.

Friday, September 25, 2015

LEGO 10 speed transmission, 5x2


A Lego 10 speed transmission, really??? Out of Legos?? Yep that’s right, the transmission is comprised of a 5 speed box followed by a 2 speed box, and the low gear in the 2 speed box is 3:1, while high gear is direct drive or 1:1. I am unaware of what the ratios in the 5 speed box are, as they weren’t listed on the moc's homepage, and I didn’t take the time to figure them out when I was building it. The CV joint and universal joint was placed between the two transmissions to overcome the slight offset of the axle in the 5 speed. When pinned together the output and input didn’t line up so the use of the CV joint was the easiest route to overcome that problem. Now why did I make this transmission you might ask, well I wanted to see if I could, and it turned out fabulous, the 5 speed transmission is a MOC I found on Rebrickable created by neo. 1st and 6th gear will crackle when too much resistance is applied to the output shaft, the crackle is the gears jumping teeth with the next gear it meshes with. The device built on top of the 2 box was built to apply resistance to the rubber wheel, with the use of a worm gear turning an 8 tooth which is directly connected to a 4x7 bent lift arm, thus applying resistance.

I plan to build a "car" around this transmission, putting either an I6 or V8 in front of the transmission, and a differential after the transmission. The car wont drive, but it will be a model to demonstrate ratios, and torque vs speed. Until next time, remember, if you can dream it, you can build it.

Saturday, September 12, 2015

Wreckers, then and now.


fig 1
fig 2
fig 3
fig 4
  In 1916 Ernest Holmes, invented the first wrecker out of necessity (fig 1), in 1916 Ernest received a call from an old professor, he had flipped his Model T Ford into a creek-bed on its roof, Ernest and 6 men, took 8 hours to pull the car from the creek. Ernest knew there had to be an easier way to do this job. A 1913 Cadillac was rebuilt to include a wrecker body on the back of it, Ernest tested it and realized the weight pulling on the rear of the truck would lift the front end up, Ernest added rear stabilizers and this time it worked like a 
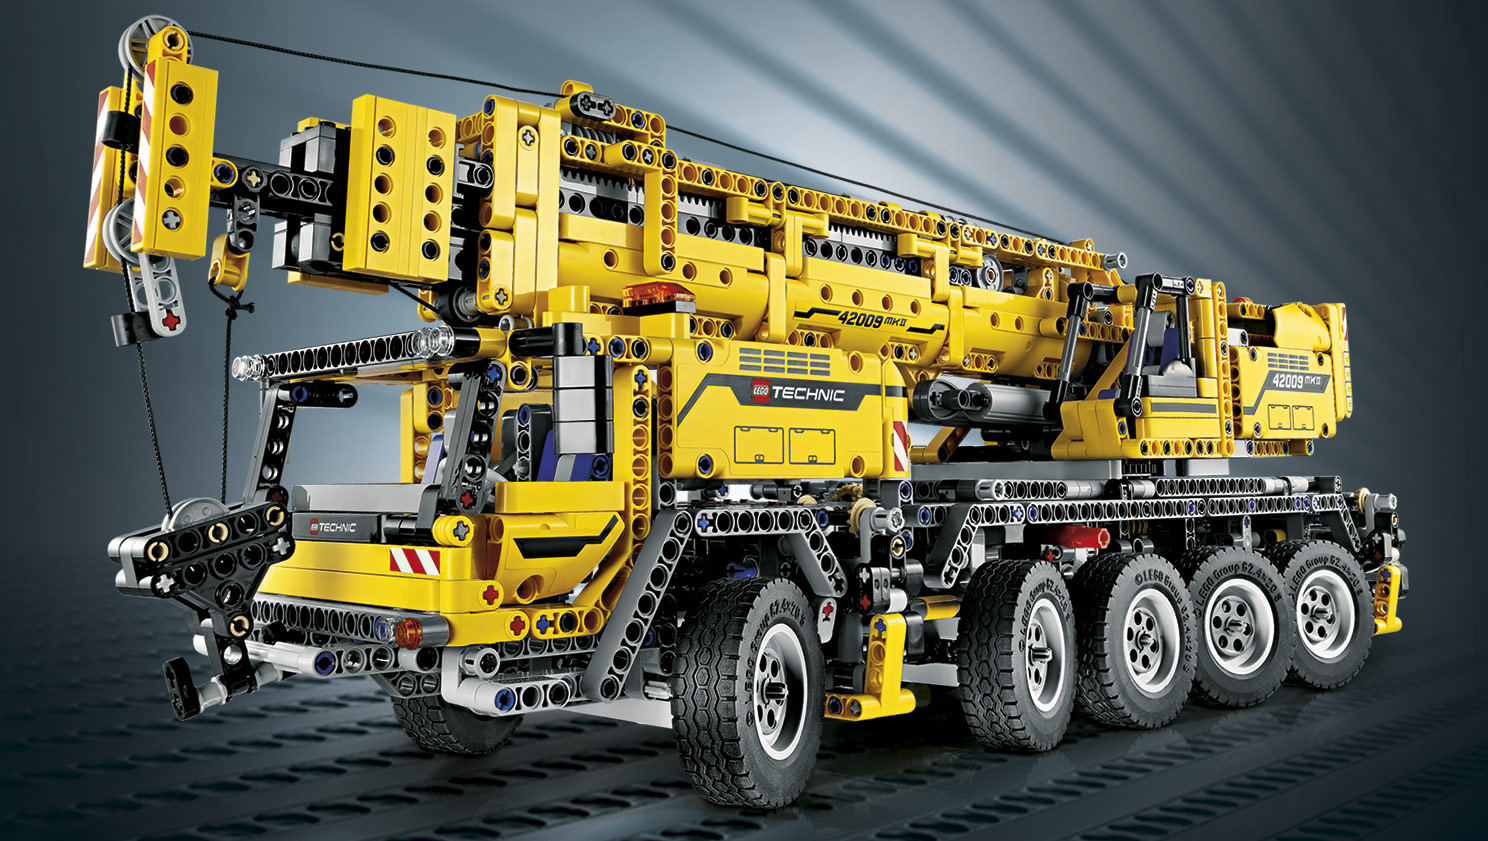
charm. Wreckers have come a long way from the early days, in fig 2 is a 99' Peterbilt 379 flattop wrecker with a 350" wheelbase, which I will be MOCing, (my own creation) over the course of the next month or 2. I was inspired to build a wrecker as it is full of different functions, a lifting boom, rear stabilizers, extending boom, and a wheel lift built into the boom or chassis itself. I’ve roughed the chassis of my truck, and have already built the pneumatic pump, placed all 4 valves (lift, rear stabilizers, auxiliary air supply and wheel lift). In Fig 3, you can see the rough mockup of a boom I created in order to find the proper cylinder angle, if you look at fig 2, in the rear of the truck you can see the hydraulic cylinders that lift the boom, they sit at approximately a 50 degree angle in relation to the chassis. In my truck the cylinders are straight up and down, which leads to the wheel lift being too high when fully raised, although I don’t necessarily have to raise the boom all the way up. In fig 4, the rear drive set up is built very similar to the Mercedes Benz Arocs technic set 42043, two differentials, hung underneath 6 medium shock absorbers, with a driveshaft connected to a model engine, I don’t have the engine in place yet, I do plan on putting an I6 engine in the wrecker. In fig 5 you see the 4 valves that will control all the pneumatic features on the truck, the red valve raises/ lowers the boom, the brown is to supply air to the auxiliary output in the back of the truck, visible in fig 4 as the black hose. the grey and black valve don't have a function plumbed to them yet. The last picture, fig 6, shows the onboard compressor, powered by an L-motor. There is also an air tank on this truck, to help the functions run more smoothly. That’s all for now, until next time when I plan on building a 10 speed transmission. remember, if you can dream it, you can build it.

fig 5
fig 6


Sunday, August 30, 2015

Storage solutions

Fig 1.

Fig 2.

Fig 3.
How do you store over 12,000 Lego bricks and pieces? Pencil boxes and nut and bolt organizers. The blue bolt organizer (Fig 2.) I’ve had since January and its worked wonders since then, it has 30 small drawers that can be divided, and 9 large drawers that can also be divided. as my collection has grown so has my need to store all my pieces, I picked up some pencil boxes (Fig 1.) yesterday at my local Walmart, as they were marked down to 25 cents, what a steal, I was able to get 20 for 5 dollars, (my little brother took 2), they fit wonderfully between my bolt organizer and the wall, and they interlock with one another. I don’t have the room to store sets intact, so after a while I tear them down into a box, until I can slowly organize them. Organization takes a long time when you don’t have the room to pull all your boxes out and sort each piece you pick up. I have to get one box down and search for pieces that go in that box only. the small black bolt organizer (Fig 3.) was also picked up at my local Walmart a couple months ago, it contains pieces I don’t often use such as; pneumatic valves, pumps, cylinders, and shock absorbers are stored in this organizer. These boxes and organizers will be filled before I buy anything else to sort my pieces into. Until next time check out the links in the right margin and remember, if you can dream it, you can build it.

Friday, August 28, 2015

2 Speed orbital transmission


A 2 speed orbital transmission, a what? That’s the question some of you just asked yourself. An orbital transmission is a transmission that is placed between two gears, gears are changed by turning the transmission 180 degrees, and there are usually no dead gears in an orbital transmission making it very efficient. in the orbital transmission I have shown in the video, 1st gear has a ratio of 3:1, whereas 2nd gear has a ratio of 1:3, this transmission is very effective when speed and torque are both needed, but not at the same time. The only downfall in this transmission is the play in the rotating transmission body, allows the gears to skip when too much resistance is applied to the output, (in the video the output is the yellow connecter). The transmission will smoothly change gears, because the gears roll together, instead of clicking together and stripping the teeth on other gears. The motor used to power this transmission is a Lego M motor, with a Lego AA battery box. All can be found at the online Lego shop, link in right margin. Pieces can all be found at Bricklink.

Welcome to Andrews Lego world


Fig. 1

fig. 3
fig. 2
fig. 4
A blog not just about Lego's, but about different mechanisms, for the mechanically inclined and fans of Legos it’s wonderful. I’m Andrew, 16, my love for Technic Legos began this past Christmas when I received the 42009 MKII crane (fig. 1) as a present, within 2 nights it was built and running, in the next week I had torn it apart and was trying to build my own truck, I soon realized though that I didn't have enough parts to do so, even though the crane came with 2606 pieces. I stopped by my local Walmart and found the 42022 hot-rod (fig. 2), containing 414 parts to build a generic drag-link steering system, and a v6 engine linked by a drive-shaft to the right rear wheel, then decorated by a light blue shell and convertible roof. For my birthday I received the 42008 service truck (fig.3) Containing 1224 pieces, based upon a European cab over tow truck, the truck featured rear outriggers/ spades, an integrated lift boom, the wrecker arm and tow dolly are one piece. The dolly was lifted and lowered with the use of a 1x5 pneumatic cylinder (fig. 4), the arm also has an extendable section powered by a 1x5 cylinder. The boom is raised by a linear actuator. These technic sets have enabled me to explore functions and different mechanisms, torque vs. speed ratios in gearboxes. When I first got the 42009 crane for Christmas I had no clue how a gearbox changed from one gear to another, the crane had 1 lever that would flip and slide between 4 functions. Building the gearbox in the super structure of the crane helped me realize how driving rings have paws the slip in and out of clutch gears and take power further down the driveshaft. I'll do a more detailed breakdown of what each set has to offer later on as I put them back together, until then, if you can dream, it you can build it!

Below you will find a link to my YouTube channel, Andrews Lego world. A link to Eurobricks, a very friendly place for all your Lego needs and fantasies. I've also provided a link to Rebrickable and Bricklink, Rebrickable is helpful for keeping track of your Lego sets and pieces ( I currently have 12375 pieces in 16 set). Bricklink can be a very useful tool if you create your own sets and models, Bricklink allows you to pick any part you want and however many you want, then order them, and wallah, there delivered.
My YouTube channel-Andrews Lego world